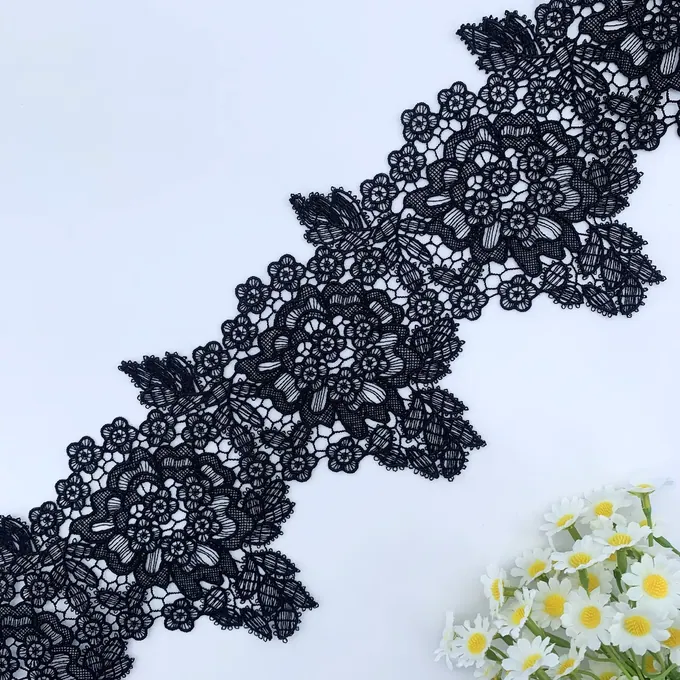
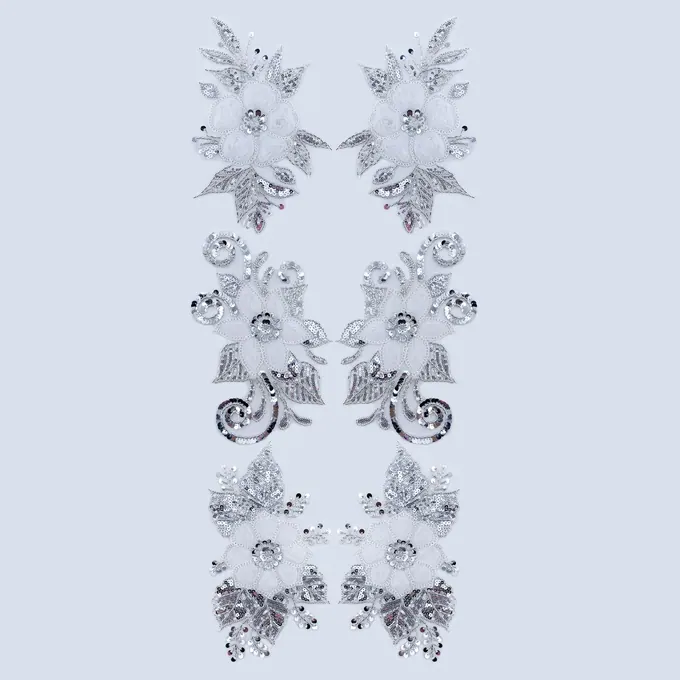
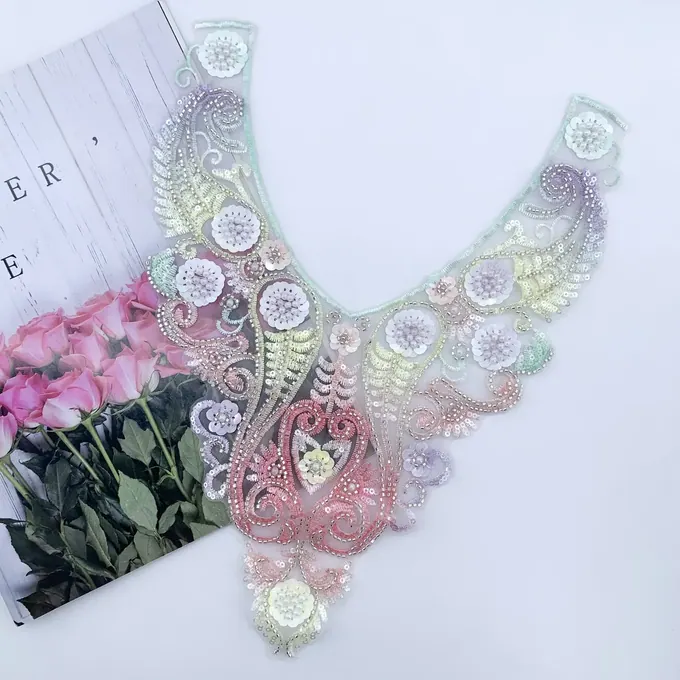
Measure the pattern edge in its intended shape
A flared sleeve can have a curved lower edge even when the garment photograph makes it look straight. Trace the sewing line and visible edge separately on the actual pattern. Identify the underarm join and any opening. Compare the border against that curve before buying by the flat width of the sleeve, which is not the same as its complete edge length.
Let the sample reveal the mismatch
Place a short sample without pulling it to force a fit. Note where the inner side gathers or the outer side lifts. Ask the sewing team whether the chosen design can be positioned in sections or needs a different border. Cutting, separating motifs or changing attachment must be assessed on that specific construction; do not presume a trim can be reshaped freely.
Match the pair at the seam junction
Review both sleeves on a mock-up, with the wearer's right and left marked. Choose where a full motif appears on the outward-facing side and where the join can sit underneath. Record those positions on the cutting plan. Two equal lengths do not guarantee matching outward flowers when the repeat and sleeve circumference differ.
Quote the sleeve plan by size
Provide edge lengths for the intended sizes, garment counts and the selected layout, including any extra length needed to start at matching motifs. Add the candidate reference to the enquiry and ask for a suitable trial length. Confirm the final consumption only after the pair is assembled and accepted; the straight-cuff figure should remain a separate version.
- Actual curved edge rather than flat sleeve width.
- Unforced trial and identified underarm join.
- Paired motif starts and size-specific consumption.
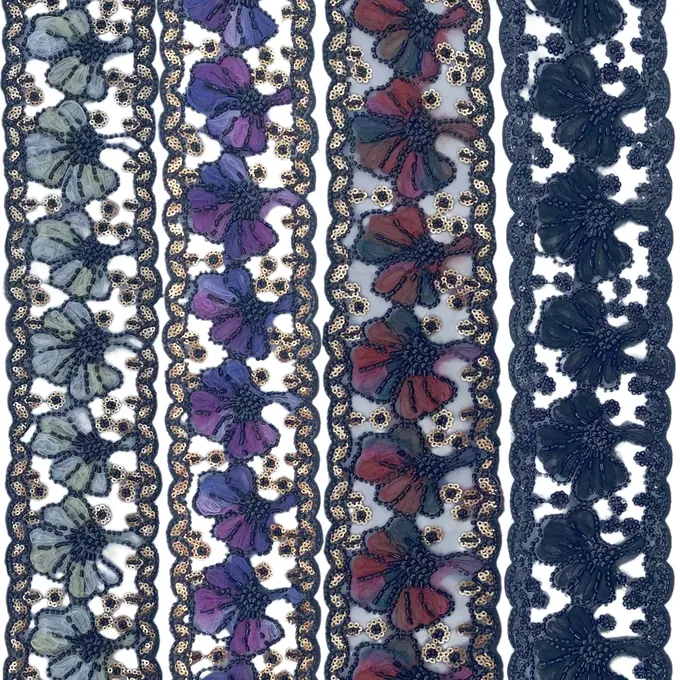
A real catalogue example. Confirm its suitability, dimensions and performance separately.
Turn your research into a clear enquiry.
Select your designs and share the colour, quantity, unit and destination. Request confirmed specifications before ordering.
Prepare an enquiryRequest samples